Step-by-Step Guide to Installing Waterstops: Ensuring Effective Waterproofing
Waterstops are essential components in construction projects that face water exposure, such as concrete joints, tunnels, dams, or water tanks. Proper installation of Waterstops ensures effective waterproofing. In this article, we will explain the detailed steps for installing Waterstops, helping you ensure that your structure is protected from water leakage with maximum efficiency.
What is a Waterstop?
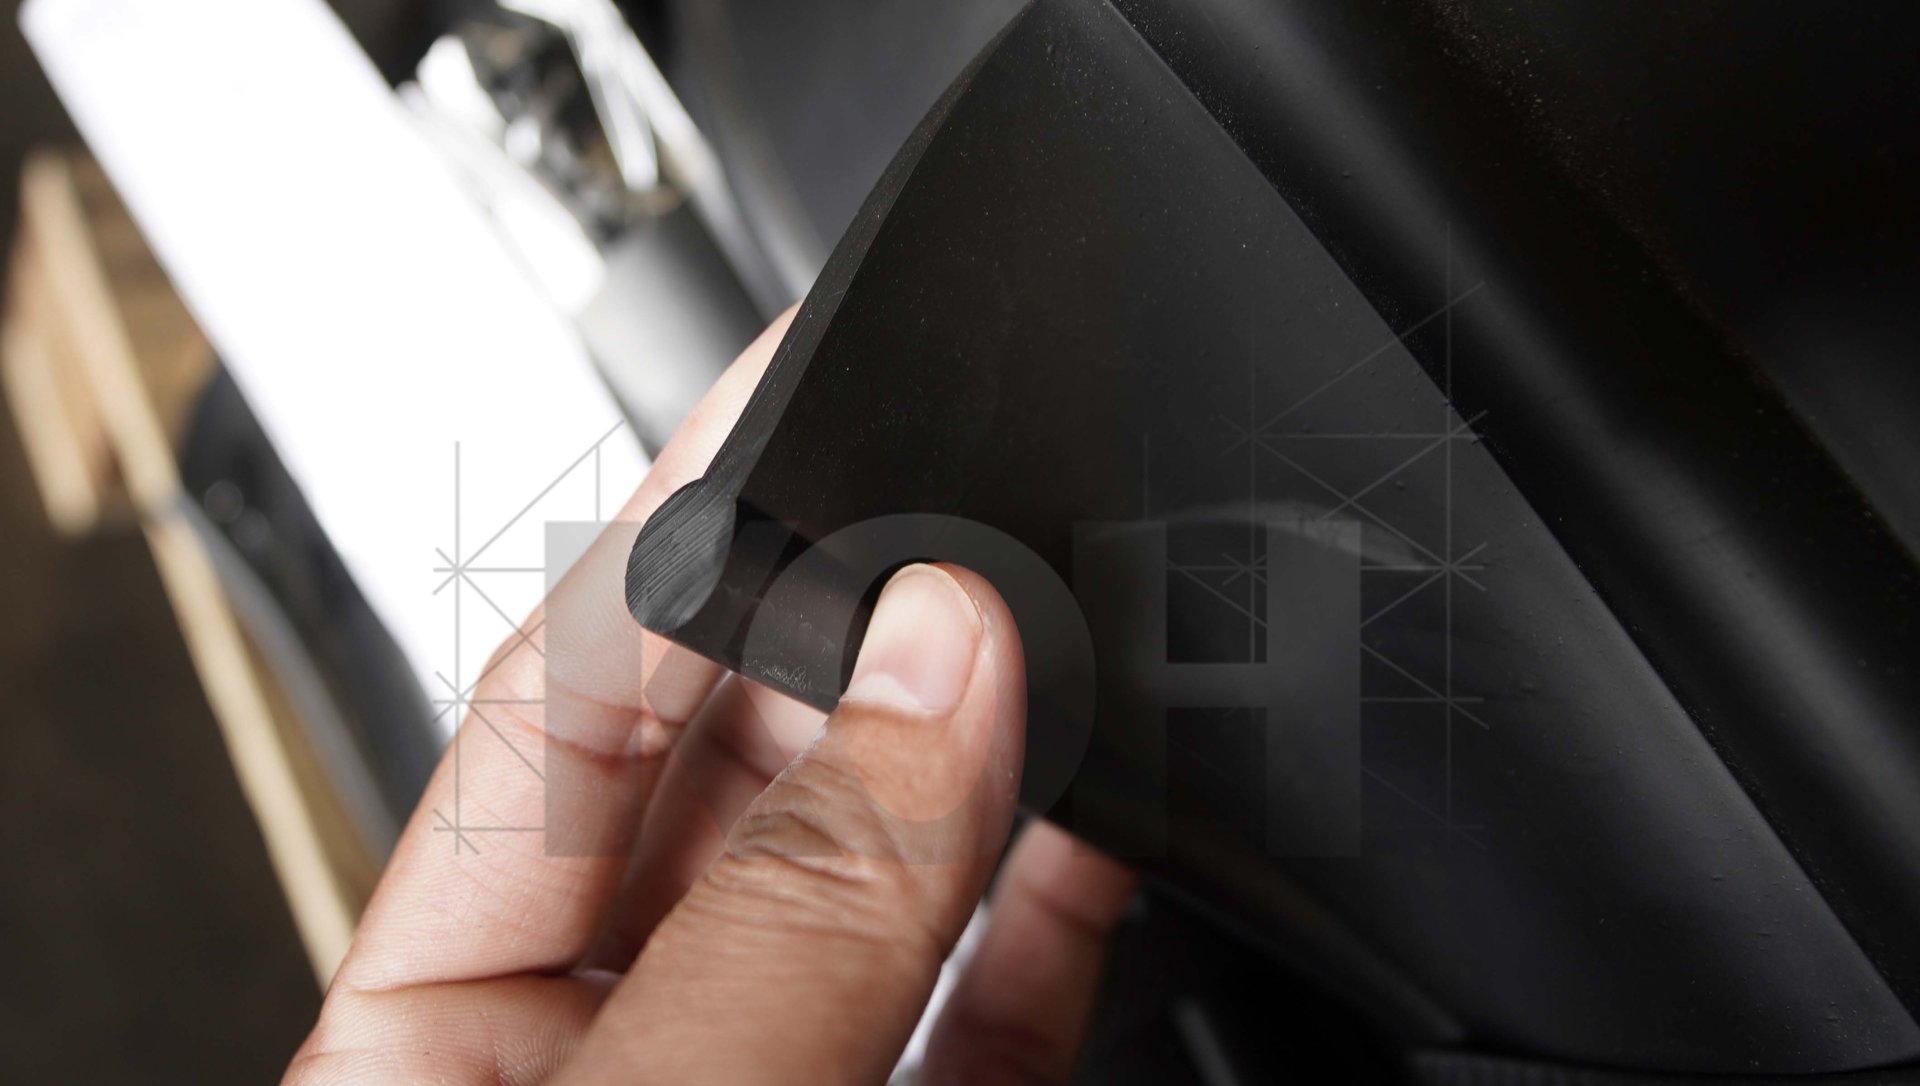
Before diving into the installation process, let's first understand what a Waterstop is. A Waterstop is a waterproofing material used in concrete construction, particularly in areas where concrete joints exist, such as between floors and walls or where new and old concrete meet. These joints are often vulnerable to water penetration, and without proper protection, leakage can lead to premature structural deterioration.
Factors to Consider Before Installing a Waterstop
Choosing the right Waterstop depends on factors such as environmental conditions, water pressure, and the type of structure. For example, in areas with high water pressure, a Waterstop that can withstand high pressure should be selected. In environments with heavy vibrations, a flexible Waterstop, such as one made of rubber, is more appropriate.
Steps to Installing a Waterstop
Once you have selected the appropriate Waterstop and prepared the area, its time to proceed with the installation. Correct and precise installation is essential to ensure maximum waterproofing efficiency.
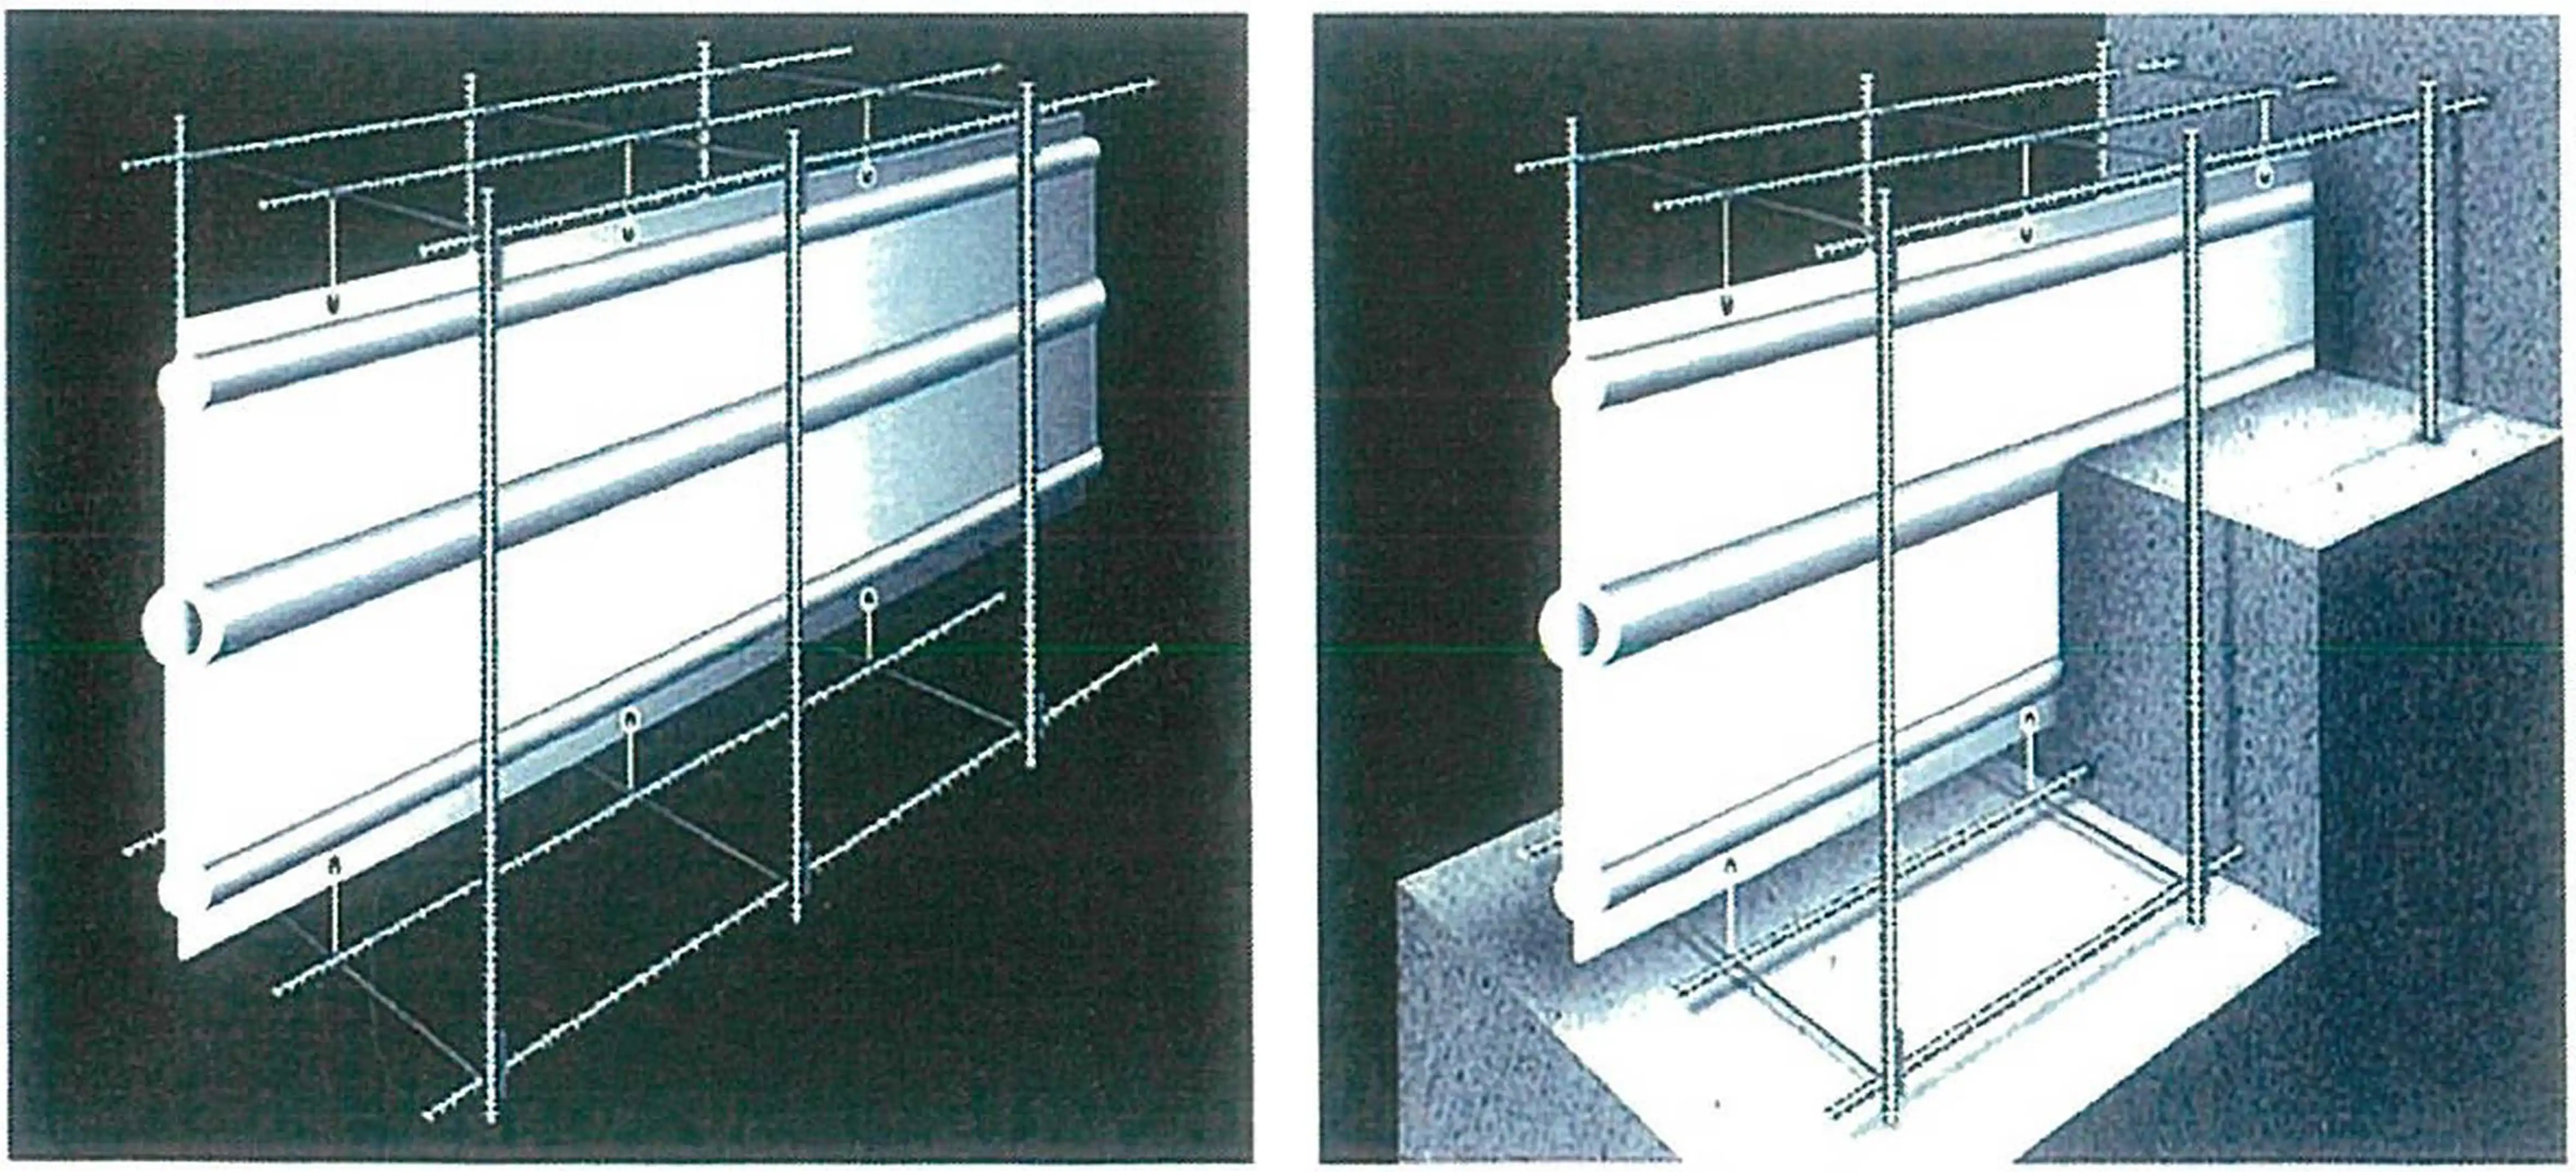
1. Installing a Waterstop in Fresh Concrete (Construction Joint)
For fresh concrete pours, the Waterstop must be installed during the concrete pouring process. Typically, Waterstops are placed in the joints between two sections of concrete, such as between the floor and walls. Ensure that the Waterstop is installed correctly so it doesn't move during the concrete pour.
Main steps:
- Positioning the Waterstop: Place the Waterstop securely in the concrete joint. Part of the Waterstop should be embedded in the fresh concrete and the other part in the existing concrete.
- Securing the Waterstop: Use clips or metal fasteners to hold the Waterstop in place and prevent movement during the concrete pour.
2. Installing a Waterstop in an Expansion Joint (Old and New Concrete)
Another critical joint type is the expansion joint, where structural movement occurs, such as between old and new concrete. In this case, Hydrophilic Waterstops are commonly used due to their ability to expand when in contact with water, effectively sealing the joint.
Main steps:
- Positioning in the required joint: Install the Waterstop in the expansion joint, placing it in a straight line or in an L shape as necessary.
- Checking for tightness: Ensure the Waterstop is properly secured and there are no gaps between the Waterstop and the concrete.
3. Connecting Waterstops
When its necessary to connect multiple pieces of Waterstops, such as in large or long areas, proper connection techniques must be used to prevent leakage at the Waterstop joints themselves.
Main steps:
- Heat welding: This method is used for PVC or rubber Waterstops, where special tools are employed to melt and fuse the materials together, creating a seamless bond.
- Overlap connection: Place two Waterstop pieces overlapping each other and secure them with appropriate connectors to prevent water leakage.
Post-Installation Inspection
After installing the Waterstops, perform a thorough inspection to ensure:
- The Waterstop is positioned correctly.
- There was no movement of the Waterstop during the concrete pour.
- There are no gaps or air pockets in the concrete that could lead to water leakage.


